Rock Tumbler Buying Guide
Written by Jen Hazelbaker
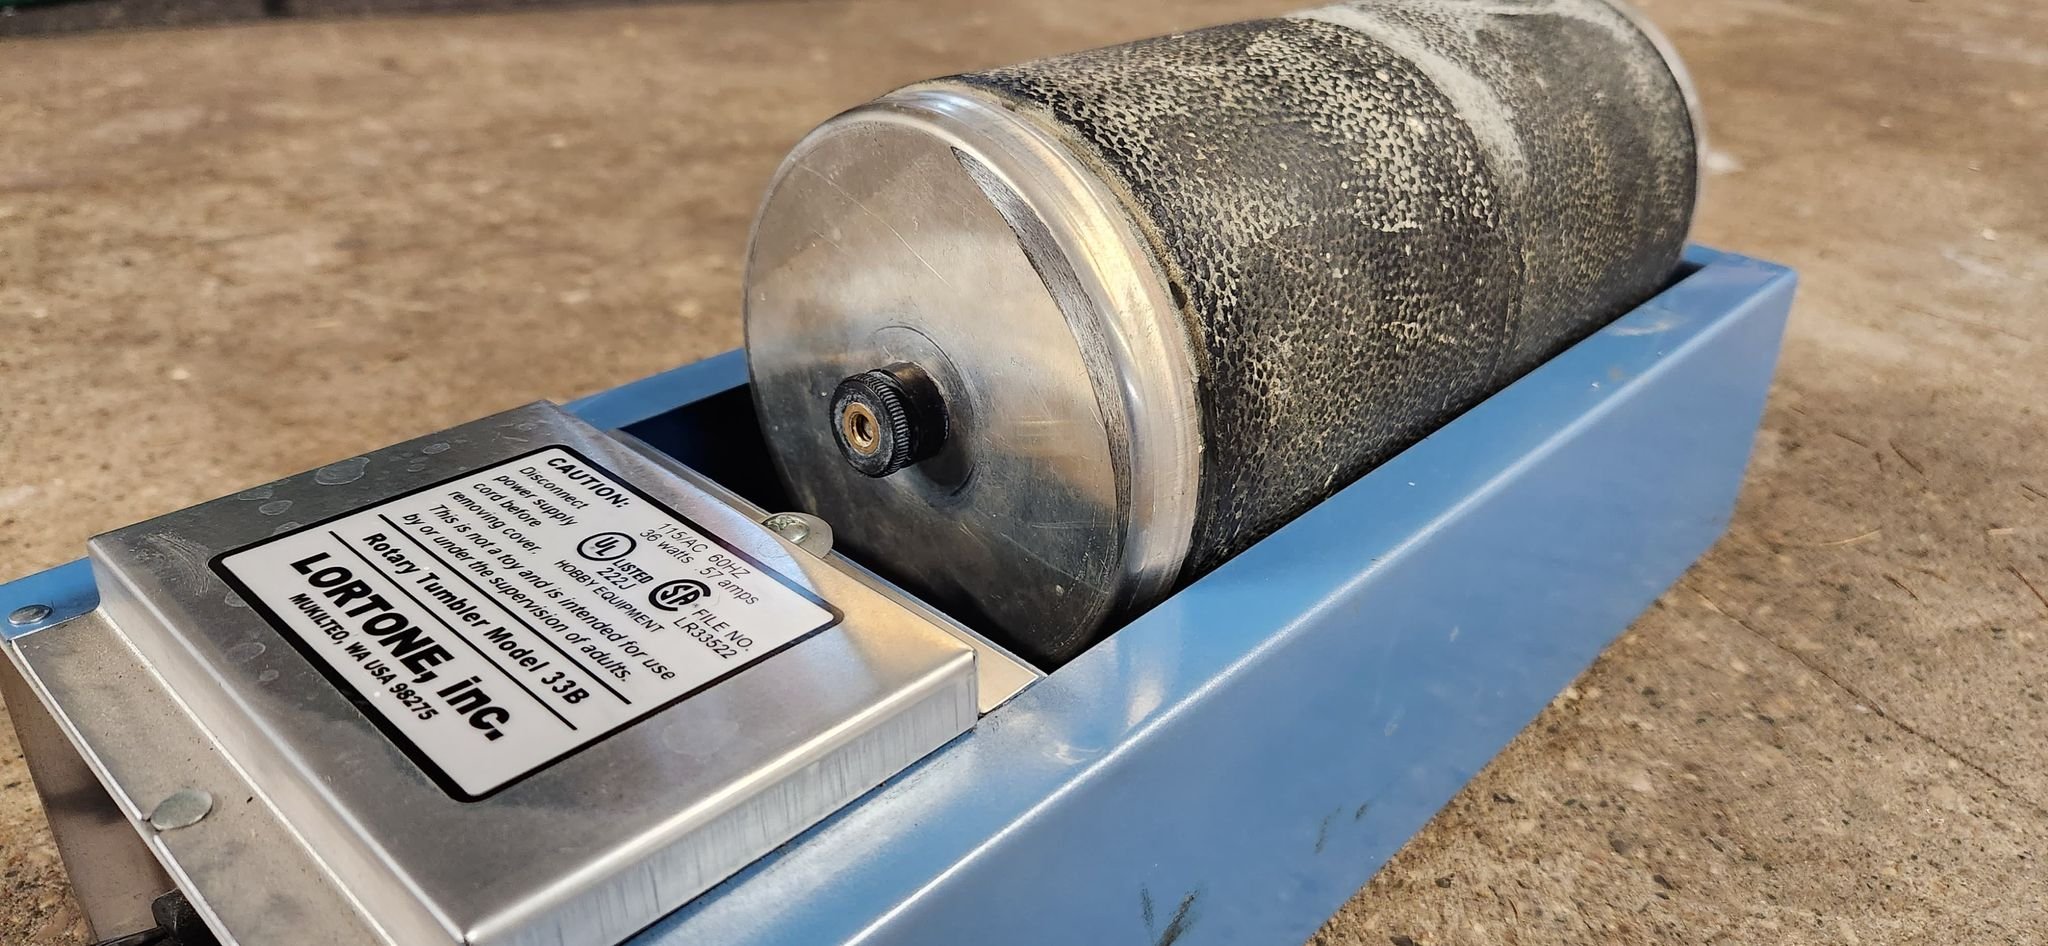
Old, worn and used, this decade old Lortone 33b still runs to this day with no issues at all, Photo Credit: Cody Wiedenbein
Some of the most frequent questions we get in Michigan Rockhounds are “What rock tumbler is the best?” and “What grits and polishes do I need to buy with my rock tumbler?” While we’re going to cover both of those topics thoroughly in the next articles, we’ve put together a list of items you’ll need to get started tumbling right here. We’ve written this guide to make buying the perfect tumbler and accessories— something that can feel impossible to figure out— nice and easy for you!
This guide is a summary of everything you’ll need to get started: the best possible set-up for a beginner at rock tumbling. We’ll recommend the best rotary rock tumblers, the best grit and polish kits, and the best cushioning media for your average Great Lakes beach rocks. This guide won’t overwhelm you with topics like vibratory rock tumblers (although we will briefly mention why), reviews of all of the rock tumblers on the market, all the different types of final polish, and what the different types of cushioning media are. Those will be covered in future articles coming soon!
What to buy:
A dual barrel rotary rock tumbler
A grit and polish kit from a lapidary supply shop
Non-abrasive ceramic cushioning media
Borax or Ivory bar soap
A plastic colander
What did we look for when choosing our recommendations? The cost per pound of barrel capacity, the manufacturer’s quality of the tumbler, and the ease of operation.
One of the first things people realize when they get their first rock tumbler is that they almost immediately need another one. We think that right off the bat you should start with a dual barrel rotary rock tumbler. This will come with two three-pound barrels and is the perfect size for a beginner. You can get the first stage (rough polish) going in both barrels and when you have enough rocks ready for starting Stage 2, you can carefully clean one of your two barrels and use one of them for that Stage 2 batch. Meanwhile, the other barrel can continue with Stage 1, so that by the time you’ve completely finished one batch you’ll already have enough ready to start at Stage 2 again.
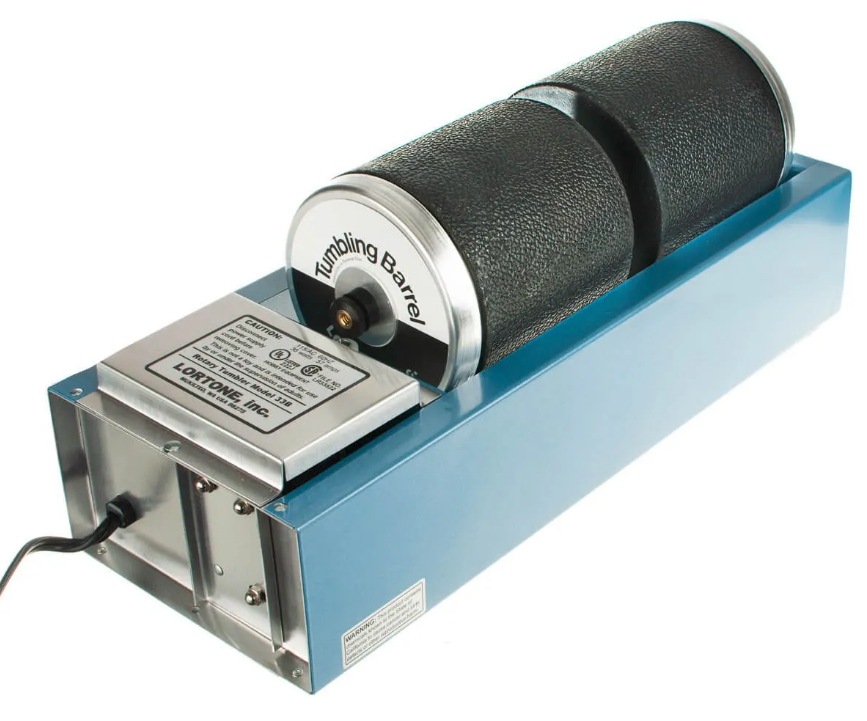
Lortone 33B, Photo Credit: Kingsley North
A RELIABLE, DUAL BARREL ROTARY TUMBLER
Our favorite dual barrel rotary tumbler is the Lortone 33B, which comes in at $165+ tax and shipping at Kingsley North at the time of writing. At a rough cost of about $180 (in 2022), this tumbler costs about $30 per pound of suggested barrel capacity, is American made, and of generational quality meaning it can be handed down through the generations of your family. In fact, many people who rock tumble are using Lortones that their grandparents or parents used. The drawback to Lortone tumblers is that they are often backordered and might require a week or two on a waitlist (you’ll want to call Kingsley North for this), so don’t wait until the last minute if you want one of these well-loved machines! But the fact that there are waitlists for these should really tell you just how good these tumblers are.
If the Lortone 33B is beyond your budget or you simply can’t wait if it’s out of stock, then we do have an alternative to suggest. Harbor Freight sells a dual barrel Chicago Electric rotary rock tumbler which can often be found in stock and in the stores. This model is significantly less expensive than a Lortone 33B, but keep in mind its quality is very very hit-or-miss. You’ll absolutely want to buy the extended warranty for it and it might be wise to buy a few extra better quality belts than what are included.
Premium: Lortone 33B
Bargain: Chicago Electric
A quick note about vibratory rock tumblers: While you might have heard that vibratory rock tumblers work much faster than rotary tumblers, we want to stress that they are meant to supplement rotary rock tumblers. You’ll still always need to do Stage 1 in a rotary tumbler because vibratory tumblers don’t work with coarse grit for Stage 1. Vibes have quite a different learning curve, making them difficult machines to master. Also, purchasing a vibratory rock tumbler isn’t as simple as purchasing a rotary tumbler is. There are many, many models of vibratory tumblers that aren’t made for rock tumbling at all, but instead are meant for dry tumbling metal such as bullet casings. These machines don’t have motors or barrels that can withstand wet rock tumbling, leading to disaster. So, we don’t recommend a vibratory rock tumbler for a beginner and advise you to wait until you have at least several successful tumbles under your belt along with at least a couple more rotary rock tumblers.
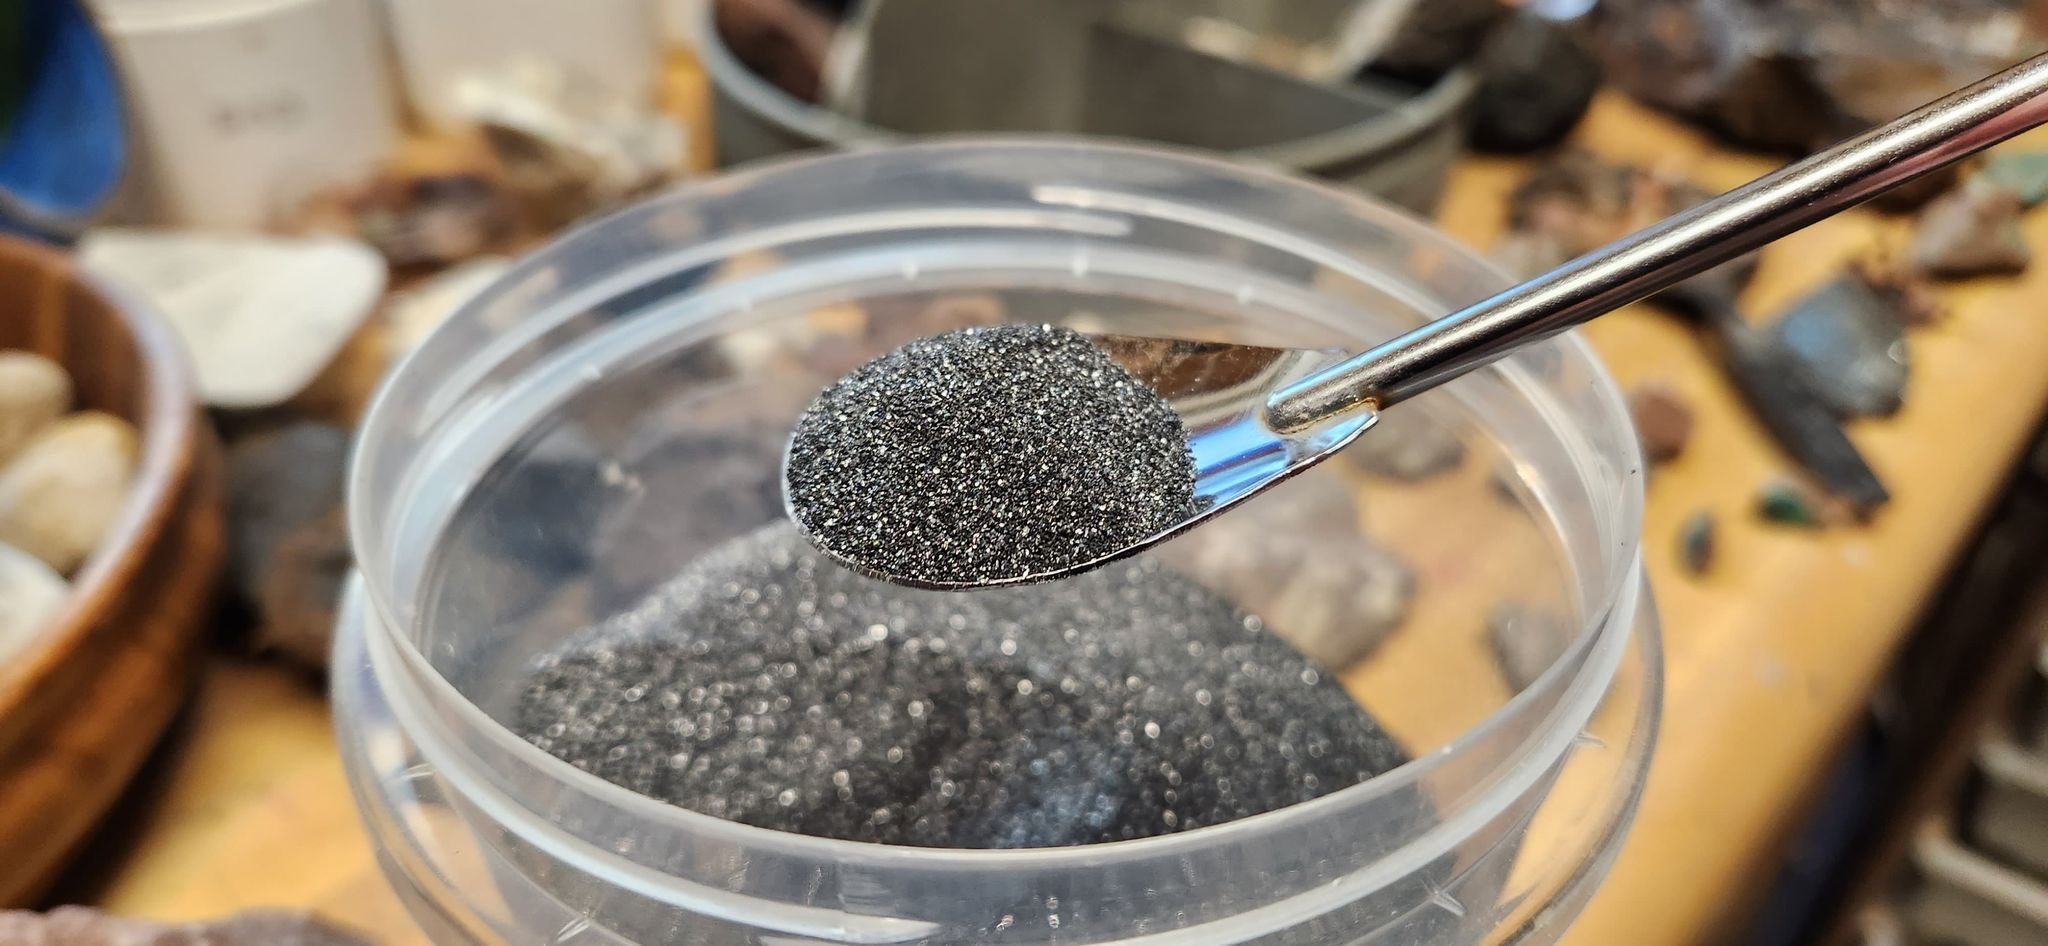
60/90 grit polishing compound, Photo Credit: Cody Wiedenbein
A grit and polish kit from a lapidary supply shop
We really can’t stress enough the importance of buying your grit and polish kit from a lapidary supply shop as opposed to Amazon. We want you to succeed with your tumbles from day 1 and that means using the best quality polishes. What surprises a lot of people is that lapidary supply shops (rock shops) provide a double-value: supplying grit and polish kits with the best quality final polishes at 1-3 micron micro-alumina (aluminum oxide), but also usually including more product than what you can find on Amazon or other warehouse sellers. This means these kits come in at the lowest cost per finished barrel, even if the kit itself costs a bit more up front. Amazon kits are notorious for only including a pre-polish level “final polish” that leaves rocks looking incredibly dull; for every question we get asking about the best brand of grit and polish to buy, there’s another by someone who bought an Amazon grit and polish kit who is disappointed with what they ended up with.
We recommend the large grit and polish kit from Kingsley North for the lowest cost per finished barrel at about $4.60. If you think you might be the type of rock tumbler who likes to repeat Stage 1 for several weeks, then add on some extra 60/90 coarse grit.

Ceramic media, Photo Credit: Kingsley North
Non-abrasive ceramic cushioning media
Cushioning media is an oft-overlooked component of rock tumbling that can make or break your tumble. Not only does it cushion your rocks from damage in Stages 2-4, it also helps distribute the polishing slurry to every surface of your rocks. You should always match the Mohs hardness of your cushioning media to the Mohs hardness of your rocks, and ceramic media is the perfect choice for our common Great Lakes beach rocks.
Unlike plastic pellet cushioning media, ceramics can be used repeatedly and moved between each of the tumbling stages so long as you clean them well along with your rocks and barrel. There’s the added benefit that ceramic media is better for the environment than plastic pellets as it doesn’t add micro-plastics into the water system. We recommend a mix of large and small ceramic media for all of our tumbles.
Borax or Ivory bar soap
Cleaning your rocks and barrels in between stages is hugely important step in the tumbling process. Borax and Ivory soap have long been the favorite choices among rock tumblers due to their purity. Borax comes in a box and is easy to use since it’s already flaked, while Ivory soap should be purchased in bars and either thinly shaved or grated. Both should be readily available at whatever grocery store you normally shop at.
A plastic colander
Plastic colanders are best for rock tumbling since- unlike a metal colander- they won’t scratch the rocks you’re trying to shine up. Many people keep different colored colanders for different stages, and we recommend the same. Be sure to buy a colander with smaller holes so that your cushioning media or any teeny tiny rocks you might be tumbling won’t fall through.